Monday, July 22, 2013

New Empty Easel article

My new writing gig!  Empty Easel is another online art magazine that I will be regularly writing for.  Visit www.emptyeasel.com and subscribe to their weekly preview of the weeks upcoming articles.  


I love all kinds of artistic mediums, but the one I find most exciting and expressive is watercolor. Watercolor gets a bad rap as being hard to control—it’s often considered the hardest medium to work with. But, while it does have more variables than other mediums, that’s what makes it so unique and exciting!

One thing’s for sure, whether you’re just starting out in watercolors, or you’ve been doing it for years, having the right tools can make your job a LOT easier. So, over the next few weeks I’m going to talk about the tools you will need to paint with watercolor, beginning today with brushes.

Are brushes really that important?

Yes! Good watercolor brushes are critical to the success of your paintings. I cannot tell you how often I have a new student who attempts to paint in watercolor using a brush meant for oil or acrylic—always with poor results!

Watercolor paints require the use of water; that’s how the paint color moves around. So a good watercolor brush is made with materials that hold and release WATER! (In other words, a bristle brush will not work.) When you go to buy your brush, ask or look specifically for watercolor brushes. This may seem like a no brainer, but it’s the first key to successfully painting with watercolor.

OK, so now that you’re looking at watercolor brushes only, you’ve narrowed your choices some, but there are still many brushes to choose from. Lets narrow these even further by type, materials and cost.

Types of watercolor brushes

There are several types of watercolor brushes, but rounds and flats are the most common. In my experience a few good rounds and flats will serve you well for 90% of most paintings. Ignore the rest!

Think about the size of brushes you need. One common problem I see new watercolor painters making is using a brush too small for the job. Equip yourself with a variety of brush sizes so you have the right tools for the job. The barest basics would be to start with a #10 round and a #6 round, along with one 3/4 inch flat wash brush.
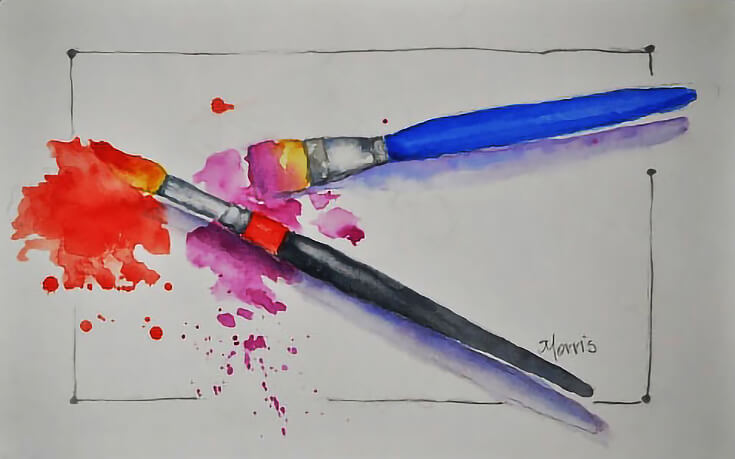
My normal starting recommendation, however, is to pick up three rounds: a #14, #10, and #6. Also pick up two flats (or wash brushes) in 1 inch and 1/2 inch. Specialty brushes are sometimes handy but not at all necessary, so don’t spend money on them when you’re just starting out. As you progress, you’ll probably want to invest in a few riggers, but that’s probably all you’ll need.

What are watercolor brushes made of?

These days the variety of brush materials is great. When I was in school I was told the best brushes were sable because they give you the best results. (They were very expensive, though!) Today the best brushes are still sable and are still expensive, but there are also synthetic brushes and synthetic blends that give equally good results with less expense.

The material you end up with is really personal preference. I know several people who love and use squirrel hair mop brushes. (Personally, I find these hold way too much water for me and for most beginners.) Many other fine watercolorists use only sable hair brushes. I prefer a synthetic brush’s ability to spring back and hold a point. All this comes from painting experience with a variety of different brushes which is why I advise new students to simply choose a good low cost option to begin with.

How much do watercolor brushes cost?

For good mid-range synthetic watercolor brushes, you’ll be paying between $20 to $35, before tax or shipping. And remember, you really need three to six brushes, so it adds up quick!

The good news is, a well-made brush from a good company will last a long time, and spending a little more on brushes will always pay off. I still own a brush that I bought in school 30+ years ago! I got my money’s worth even though back then my only thought was, “How many other things could I have bought with what I paid for this one brush!?”

So my advice is to buy the best brushes your budget can afford. You don’t need to buy them all at once and as you progress you might prefer, as I do, synthetic blends over the very expensive sable brushes.
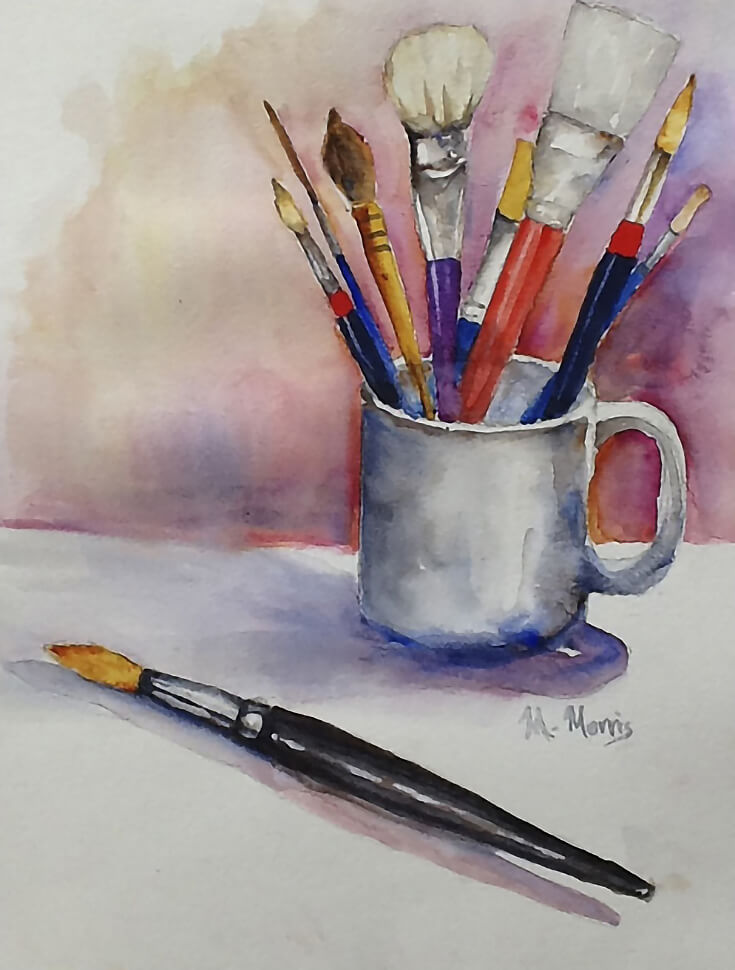
Of course, always keep in mind that a good brush makes a huge difference, but even the most expensive brush won’t paint the paintings for us or hold the magical key to painting success. Trust me on this, while your choice of brush is important, it’s only part of the equation! There is no magic brush!

So again, my advice is buy a few good brushes (three to six of them, with at least a couple sizes of rounds and flats) and add better brushes to your set as you improve and find your preferences.

Where to buy good watercolor brushes online

For good mid-range brushes I’d recommend the store brand watercolor series fromDick Blick Art Supplies or Utrecht Art Supplies. They have a large variety and since they’re online prices are usually lower, but you’ll pay shipping. Cheap Joe’s, Jerry’s Art supply and Art Supply Warehouse are good sources for brushes too.

A better brush (and my brush of choice these days) is Loew-Cornell Golden Taklonsynthetic brushes. They are inexpensive and I like their “snap” and quality. These brushes are available online at many of the retailers I just listed above.

Better yet, Winsor & Newton makes a nice set of brushes with a natural sable/synthetic blend called the Sceptre Gold ll series which are excellent for the beginner and reasonably priced. I started with these and still have and use them. They should be available online or in stores as well.

Stay tuned for my next Watercolor 101 article on the different types of paper and why paper matters. Until then, go get those brushes ready!

Did you like this article? Share it!
Then check out the related posts below.

Tuesday, July 16, 2013

Challenging Your Observation Skills!

My sketchbook challenge is on!  If you haven't read about it yet, check the previous blog or Senior Artist Article and join the fun!

The challenge is a sketch a day for 30 days.  The goal is to strengthen drawing skills.  Good drawing skills are very important if you want to draw or paint representational art.  (drawing something that looks like the object). 

The "challenge within the challenge" is just a suggestion to help you find inspiration. Last weeks was "What says summer to you?" With that challenge I've seen some wonderful work!  I thought I'd share one I did this weekend while on the road.


This sketch was done in the car as the scenes sped past.  I looked as long as I could at what interested me and then drew from memory.  First I drew the large tree in the field.  Later I saw a field with hay bales all askew.  Last I drew the flowers that dotted the roadside in the foreground.  Then I painted it with watercolor.  It's a small sketch (3x5) and I got a little too tight with my little tiny brush!  I struggle to stay loose. Time and detail are the enemy in that sense!


Drawing is all about seeing. After image drawing (what I did with this sketch) is an excellent way to strengthen observation skills.  On my Facebook page, ( just "like" Michelle Morris Art to see the feed on your page ) I issue a "challenge within the challenge" every so often.  This week I want to use after image drawing to challenge your skills a bit.   Spend 10-15 seconds looking at the photo below or use your own subject.  Then without looking draw the image.  Repeat this exercise with the same subject for a few days and see how your drawing improves!  Then post your sketches on my page and share in the fun!

Happy sketching!


Thursday, July 11, 2013

Sketchbook 30 Day Challenge

— TODAY'S COLUMN —

SKETCHBOOK JOURNAL YOUR WAY TO BEING A BETTER ARTIST!

Having just taught a sketchbook journaling workshop last weekend, I’m fresh from the creativity and excitement of being with others who were eager to learn and explore the “how’s and why’s” of keeping a visual journal. And I’m eager to share a bit more with all of you! 

So far, I’ve discussed some of the tools I use to create a sketchbook journal. These tools can be as varied and creative as you are—the sky’s the limit! I’ve seen journals hand-stitched with twine, a twig, and old paper sacks. At the other end of the spectrum, I’ve seen expensive leather-bound journals with the finest linen or rag paper. I feel the journal itself is as expressive as what I put in it and becomes an art form in and of itself! To fill it, use anything you want to make your mark and express your creativity.

We also talked about the illustrated travel journal and the many ways you might carry supplies on your travels and how to sneak in a sketch here and there. Keeping a travel journal is a wonderful way to make your travels more memorable by having a visual and written record of your experiences and sights.

Today, let’s talk about how very useful a sketchbook journal can be. As a professional artist, my sketchbook has long been a practical tool in the making of my art. In it, I work out the problems with a painting, sparing myself countless hours of painting larger works that fail! A failure to plan, is a plan to fail, as the saying goes. 

I use small thumbnail sketches to work out my values and compositions, and to find the format that works best. I then paint small studies to work out color harmonies—all before I start a larger painting. The painting below, “Arm in Arm” is an example of a work conceived and planned in one of my sketchbooks!  

The best way I’ve found to get the most out of your sketchbook is to actually use it! I follow several sketchbook blogs (and will provide info on those later), and many have issued a daily sketch challenge. This January I challenged myself to 30 sketches in 30 days. To keep myself honest, I blogged and posted them on Facebook each day. I wrote about my process, all that went into my sketches, and what I was learning. I learned a great deal with that discipline. 

In my eyes, the takeaway for any type of daily practice is: 

1. You build a habit. While I did not continue to sketch daily. The daily practice was valuable in showing me that there is always a way to make time for my art! 

2. The old adage “practice makes perfect” applies to your art, no matter how experienced you may be. My art has improved by being consistent. 

3. You have a record or your journey as an artist and can see how your work has evolved over a period of time. Through my journals I realized that I had lost the playfulness I brought to my earlier work by becoming a better artist technically. I then used my journals to explore and make the transition to a more spontaneous style. This, in turn, helped me become more technically competent, which gave me the freedom to express myself and find my voice as an artist.  

Lastly, I think a sketchbook journal is a safe place to take an art adventure. It’s a private place where you can experiment without fear and embrace making “mistakes” (In art, what’s a mistake anyway?). Since your sketchbooks are a volume of works, ideas can evolve or dissolve as you continue to explore, push boundaries, and expand on them. It’s a place to play and just have fun—to be yourself! Your sketchbook may very well become your new best friend!

As you can see, a sketchbook journal is a useful, practical way to move forward in your artistic journey. Using it often as a place to hone your skills and express yourself creatively has applications far beyond its pages.  

How about you? Do you think about making art, but never really get around to it? Are you up for a challenge? Do you need a push to get you going?  Or maybe some accountability to get you back in the game? Take a look at the “Resources” section in this issue to find out how you can take the 30-day sketchbook challenge.


Michelle is an artist/writer living and creating in Columbus, Ohio. To see more of her work, read her blog, Living a Creative Life, or visit her website.

— RESOURCES —

TAKE THE 30-DAY SKETCHBOOK CHALLENGE!

S

enior Artist contributor, Michelle Morris is issuing her own sketchbook journaling challenge! You can join her and other artists on Facebook for a 30-day sketchbook challenge. You can post your work as you go, or if you’re too timid to show the world, you can watch as others share in the adventure.

Michelle will post small “challenges within the challenge” and will be posting tips and techniques for sketching throughout the 30 days.

The rules are simple—more like guidelines really:

  • Produce one sketch daily for 30 days.
  • Use pen or pencil to draw, and add color if desired.
  • Choose any size or subject.
  • You are responsible to no one but yourself. If you want to get the most out of the challenge, you’ll have to stick with it!

Ready? Set? GO! The challenge starts today!

Visit Michelle’s Facebook fan page and click “like” to start receiving the daily challenges in your newsfeed.

Thursday, June 13, 2013

Senior Artist Article

Posting my article from this issue of Senior Artist.  Read all about it!  And for more art related tips and articles go to www.seniorartist.com. thanks for reading.

Turn Your Vacation Into An Art Lesson You Won't Forget!

June 10 , 2013

by Michelle Morris

As I mentioned in my last piece, the very first time I used a sketchbook for anything other than drawing was on a trip to Italy.

Having painted plein air for several years, I knew that such a complicated setup and that luxury of time was not possible while on a tour of another country. I knew I would be seeing some incredible art and architecture, and I wanted to follow in the footsteps of so many before me and paint what I saw. When in Rome, right?

Packing light was essential!

I pared down supplies to a minimum with a sketchbook small enough to fit in my purse, a small paint box, a travel brush, and pencil and eraser. Bottled water is easy to come by most anywhere, but I also have a small water bottle I can carry with me.

My sketchbook was a 10 x 7 spiral-bound Strathmore Field Watercolor Journal. (I have since moved on to better journals with better paper, but I've used several of these and find them an excellent option and readily available.) In between each watercolor sheet, these journals have regular paper on which I journaled my experiences every day.

That first journal was the beginning of many travel journals to come.

As the years went on and my husband and I were able to take a few trips, I schlepped my ever-evolving "kit" with me.  Since I mostly used watercolor in my early journals (I'll cover other mediums to try in a later article), I found that when I need to pare down even more, the Niji paint brush came in handy since it carries water inside the handle! I've used a larger paint box by Yarka and found a sealed watercolor palette that I use with my tube paints for trips when I know I might have more time.

Below are some sketches from that first journal, made while on the tour bus of the Italian countryside. I sketched when and where I could!

So, how do you use a sketchbook while traveling?

When you find you have a bit of time and want to do a sketch, begin by asking, "How long do I have to do this sketch?" Often, that determines the size. Below are a few I did as we motored down Holter Lake by boat toward the Gates of the Mountains in Montana. Each is about 2x3, which was all I had time for since the scenes passed rapidly. There was no time for drawing with these. I just recorded with paint what I saw.

Other sketches are larger, if time permits. I painted this (below) from our cruise ship as we came into port. Having your supplies with you when the chance to paint presents itself and asking yourself those two questions helps you make the most of the time you have.

Next ask, "What about this scene makes me want to paint it?" The sketch Church at Messina (below) was lit by the orange sunlight of the setting sun, and the dome was orange with reflected light. That was what spoke to me and what I wanted to capture. Because light changes, objects can move, or something might disturb your time, if you've gotten the essence of a scene, then you have a complete sketch. Not all of my sketches are "complete," nor do I feel the need to finish them all. But if I identify what speaks to me and capture it, I've captured that moment in time and in my journal forever.

While it’s not always easy to find the time, one option is to do the drawing off-site. Scribble some color notes or make small color swatches on the side, then paint it back at your hotel in the evening. While I would rather finish on-site, finishing at your leisure can be a less hurried and relaxing end to the day. I will often note colors and impressions, details, and even feelings to evoke memories back at the studio. That way, when I go to paint the scene, it comes to life again. My point is this:  be flexible and find what works best for your situation. The important thing is to just do it!

Lastly, don't get caught up in perfection.

In my experience, sketching is about the act, not necessarily the finished product. My sketches are not going to get a frame. For years no one even saw them. I certainly wouldn't have shared them if I thought they would be the standard of judgment for my body of work! No, these are personal records of my travels. Some make it to larger works in the studio, yet many are so special in their simple sketched form that I consider them small works of great worth on their own!

I've found sketchbooks so valuable not just because they record my travels, but more importantly, because having a visual journal has made such solid, lasting memories. I have thousands of photos, but few bring back memories as clearly as those sketches. The reason is simple:  you are taking a few extra minutes to really experience that place. I may have painted things I could do quickly and was not able to finish the sketch, but I chose things that spoke to me—things I wanted to remember. Taking the time to observe, record, and fully experience the scene leaves a lasting memory—something a photo can rarely do. 

Michelle is an artist/writer living and creating in Columbus Ohio. To see more of her work visit her blog, Living a Creative Life, or visit her website.

Saturday, June 1, 2013

Wrapping up a portrait class.  Planes of the face and some feature work in oil.

Planes of the face 
Features, nose and mouths
It looks weird to have noses and mouths floating about, doesnt it?  Where are the eyes?  forgot to photograph them! While everyone has slight variations in their features, it's still necessary to practice painting the basic structure.  And although I was teaching, it was a good review for me as well.  I don't work often in oil these days so it was nice to get back to it.  I think I need to do some portrait work in oil again!  

Next comes a well deserved vacation.  Look for some sketches in the future!